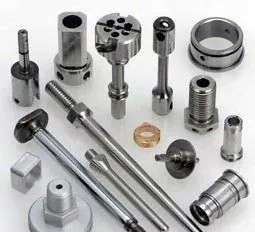
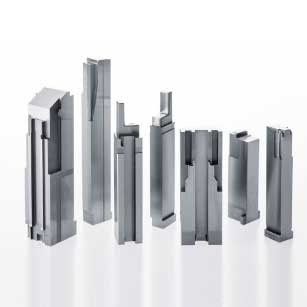
The deformation of mechanical components is directly proportional to the complexity of shape, aspect ratio and wall thickness, as well as the stiffness and stability of materials. Therefore, in part design, the influence of these factors on workpiece deformation should be minimized. Especially for parts with large structure, more reasonable structure shall be adopted. Before machining, the hardness and looseness of the blank should be strictly controlled to ensure the quality of the blank and reduce the deformation of the blank to the workpiece
Deformation caused by workpiece clamping
For workpiece clamping, the first step is to select the correct clamping point, and then select the appropriate clamping force according to the position of the clamping point. Therefore, the clamping point should be consistent with the support point as much as possible, so that the clamping force acts on the support. The clamping point should be as close to the machining surface as possible, and the position of the force that is not easy to cause clamping deformation should be selected. When there are clamping forces in multiple directions on the workpiece, the clamping force shall be considered in priority order. The contact clamping force between the workpiece and the support shall act first and not too large. The main clamping force shall balance the cutting force and act last.
Second, increase the contact area between the workpiece and the fixture or use axial clamping force. Increasing the stiffness of parts is an effective way to solve the clamping deformation, but due to the shape and structural characteristics of thin-walled parts, the stiffness is low. Which results in deformation under the clamping applied force. Increasing the contact area between the workpiece and the clamp can effectively reduce the deformation of the workpiece in the clamping process. For example, when milling thin-walled parts, a large number of elastic pressing plates are used to increase the contact area of the parts; In the turning of thin-walled sleeves with inner and outer diameters, whether simple split transition rings or flexible mandrels are used, full arc jaws are used to increase the contact area of workpiece clamping. This method is conducive to bearing the clamping force, thus avoiding the deformation of the parts. The use of axial clamping force is also widely used in production. The design and production of special clamping force can make it act on the end face, which can solve the problem of workpiece bending deformation due to thin wall and poor stiffness.
Deformation of mechanical parts caused by workpiece processingDuring the cutting process, the workpiece is elastically deformed in the direction of the cutting force due to the action of the cutting force, which is usually called the tool setting phenomenon. In order to take appropriate measures to deal with this deformation in the tool, sharp tools are required for finishing. On the one hand, it can reduce the resistance formed by friction between the tool and the workpiece, and on the other hand, it can improve the heat dissipation ability of the tool when cutting the workpiece, so as to reduce the residual internal stress on the workpiece.
For example, when Milling Thin-walled Parts with large planes of mechanical parts, the single-sided milling method is used, and the tool parameters are selected to be large main deflection angle and large rake angle, in order to reduce cutting resistance. This tool is widely used in production because it cuts easily and reduces the deformation of thin-walled parts.
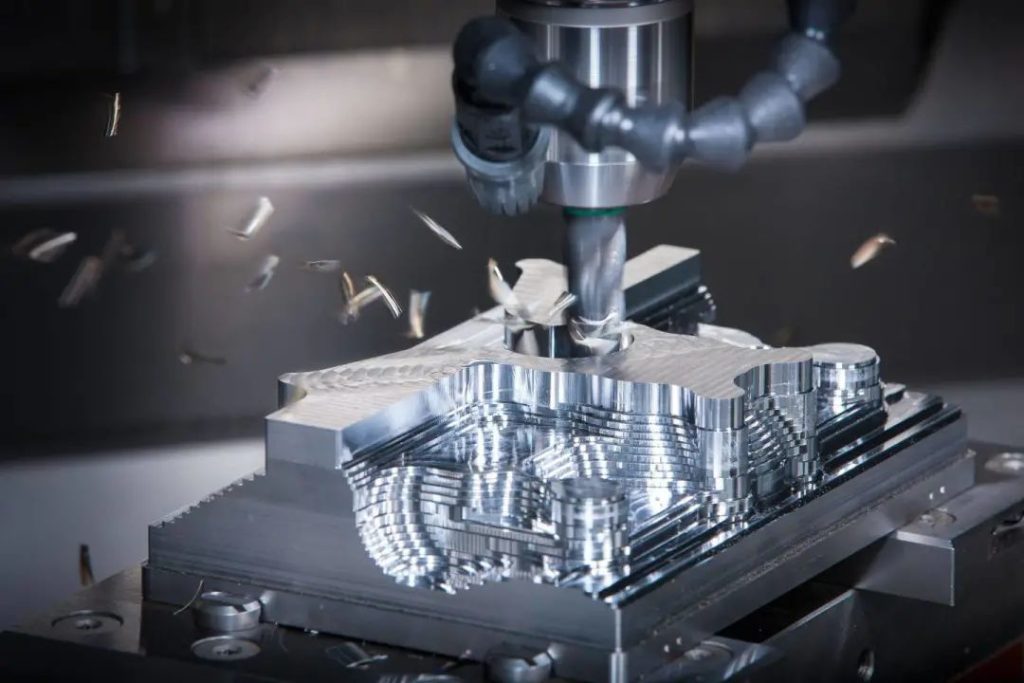
in the turning of thin-walled parts, a reasonable tool angle is very important to the size of cutting force, the thermal deformation and the micro quality of the workpiece surface. The cutting deformation and the sharpness of the tool rake angle are determined by the size of the tool rake angle. If the rake angle is large, the cutting deformation and friction will be reduced, but if the rake angle is too large, the wedge angle of the tool will be reduced, the strength of the tool will be weakened, the heat dissipation of the tool will be poor, and the wear will be accelerated. Therefore, in general, when turning steel for thin-walled parts, high-speed tools are used, with a rake angle of 6 ° ~ 30 °, and cemented carbide tools, with a rake angle of 5 ° ~ 20 °. If the rake angle of the tool is large, the friction is small, and the cutting force is correspondingly reduced, but if the rake angle is too large, the strength of the tool will be weakened. When turning thin-walled parts with high-speed steel turning tools, the back angle of the tool is 6 ° to 12 °, when using cemented carbide tools, the back angle is 4 ° to 12 °, the larger back angle is taken for finishing machining, and the smaller back angle is taken for rough turning. When turning the inner and outer circles of thin-walled parts, take the larger main offset angle. Correct selection of tools is a necessary condition to deal with workpiece deformation. The heat generated by the friction between the tool and the workpiece during machining will also deform the workpiece, so in many cases, high-speed machining is selected. In high-speed machining, because the chips are removed in a relatively short time, most of the cutting heat is taken away by the chips, which reduces the thermal deformation of the workpiece; Secondly, in high-speed machining, the reduction of the softened part of the cutting layer material can also reduce the deformation of the part during machining, which is conducive to ensuring the dimensional and shape accuracy of the part. In addition, the cutting fluid is mainly used to reduce friction and cutting temperature during cutting. Reasonable use of cutting fluid plays an important role in improving the durability of cutting tools, surface quality and machining accuracy. Therefore, in order to prevent the deformation of parts in the process of machining, it is necessary to use enough cutting fluid reasonably.
Machining with reasonable cutting amount is the key factor to ensure the accuracy of parts. When machining thin-walled parts with high accuracy requirements, symmetrical machining is generally adopted to balance the stress on opposite sides, reach a stable state, and the workpiece is flat after machining. However, when a large cutting amount is required in a process, the workpiece will be deformed due to the imbalance of tensile stress and compressive stress.
