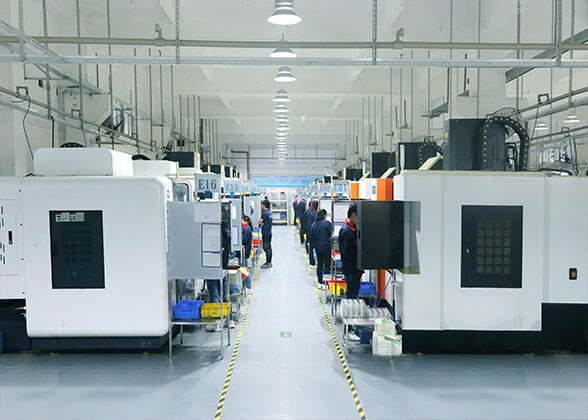
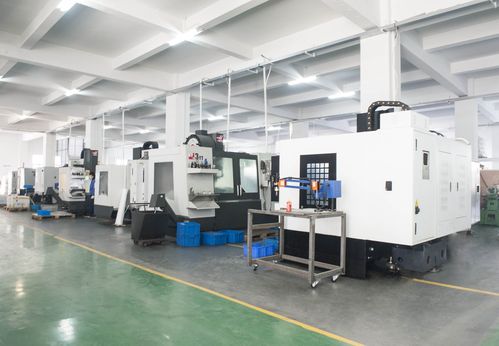
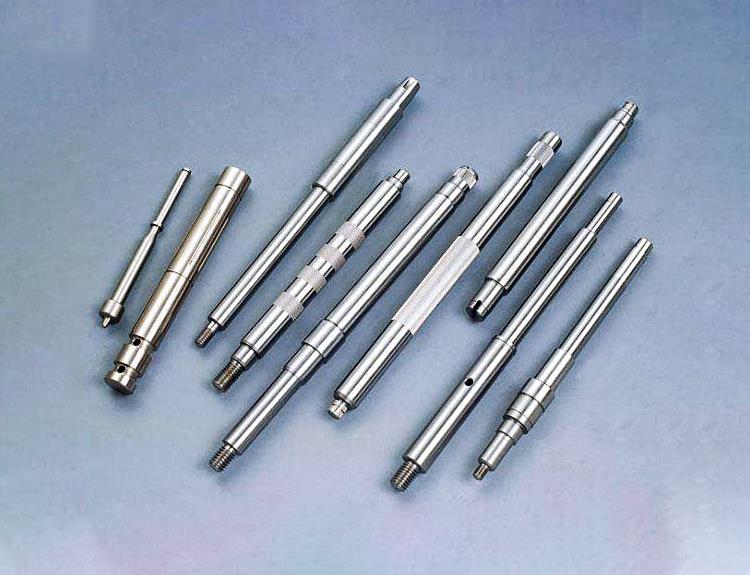
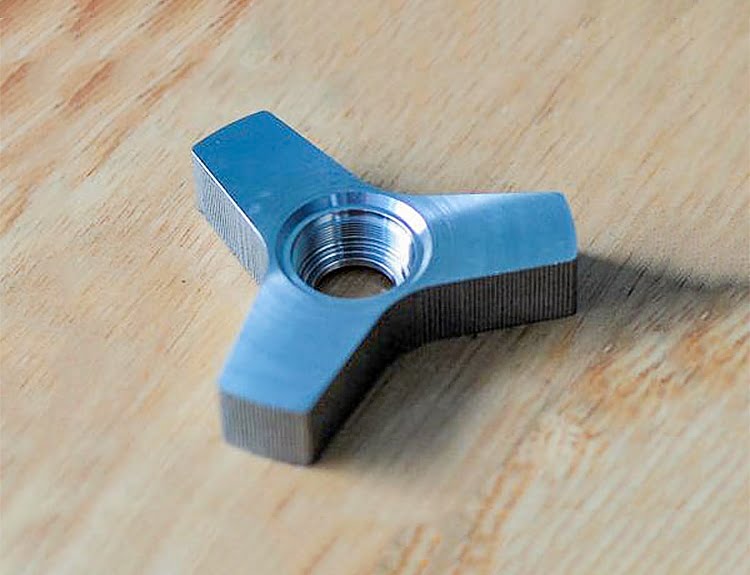
What is CNC machining
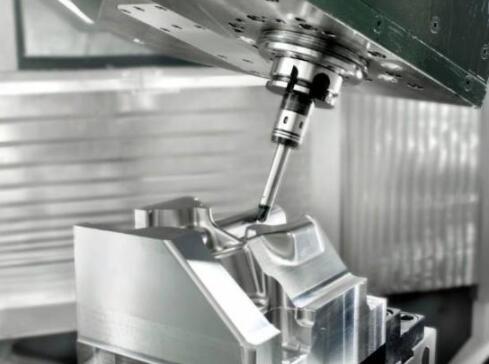
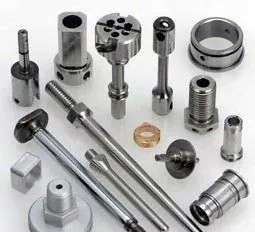
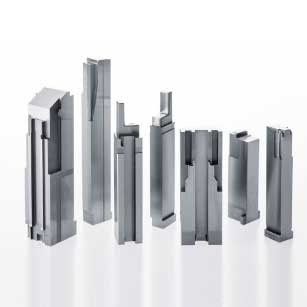
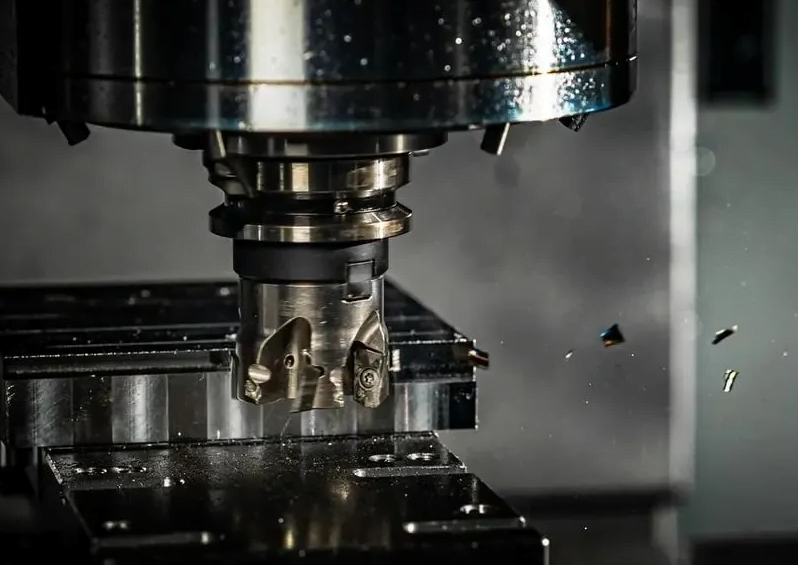
CNC machining usually refers to computer digitally controlled precision machining, also known as numerical control machining, which refers to machining with numerically controlled machining tools. Because CNC machining is programmed and then controlled by a computer, CNC machining has the advantages of stable machining quality, high machining accuracy, high repeatability, the ability to process complex profiles and high machining efficiency
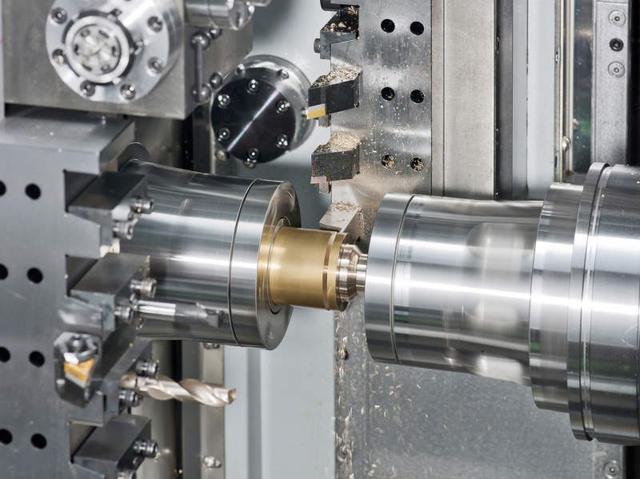
The route of CNC machining is determined
CNC lathe feed processing route refers to the turning tool from the point of tooling (or machine tool fixed origin) to start the movement, until the return to the point and end of the processing program after the path, including the path of cutting processing and tool cutting, cutting out and other non-cutting empty stroke path.
Finishing feed route is basically along its part contour sequence, therefore, to determine the feed route is to determine the focus of roughing and empty stroke feed route.
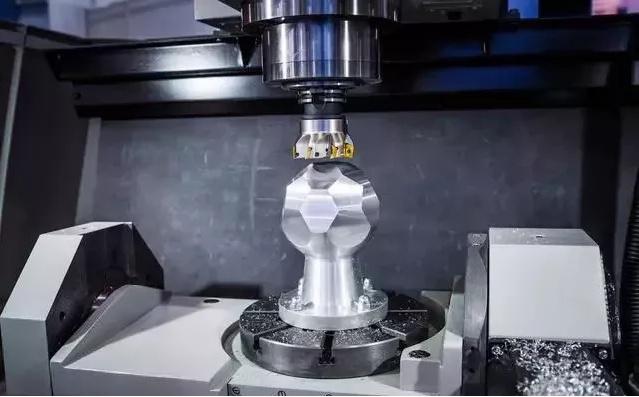
In CNC lathe machining, the determination of the machining route should generally follow the following principles.
(1) Should be able to ensure the accuracy and surface roughness of the machined workpiece.
(2) Make the machining route the shortest, reduce the empty travel time and improve the machining efficiency.
(3) Try to simplify the workload of numerical calculation and simplify the machining procedure.
(4) For some reused programs, subroutines should be used.
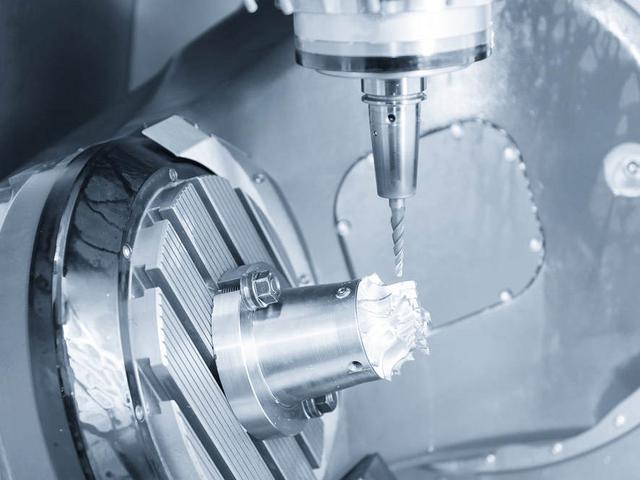
Flow of CNC machining
(1) Reading drawings and program sheets
(2) Transferring the corresponding program to the machine
(3) Checking the program head, cutting parameters, etc.
(4) Determination of machining dimensions and allowances for the workpiece in the previous process
(5) Rational clamping of the workpiece
(6) Accurate setting of the workpiece
(7) Accurate establishment of workpiece coordinates
(8) Reasonable tool and cutting parameters selection
(9) Reasonable clamping of the tool
(10) The safe way of trial cutting
(11) Observation of the machining process
(12) The adjustment of cutting parameters
(13) Processing problems and the corresponding personnel in a timely manner feedback
(14) Inspection of the quality of the workpiece after machining
Selection of CNC machining methods and determination of machining solutions
- Choice of machining method
The principle of selecting the machining method is to ensure the machining accuracy and surface roughness requirements of the machined surface. As there are many machining methods to obtain the same level of accuracy and surface roughness, the actual choice should be considered in conjunction with the shape, size and heat treatment requirements of the part.
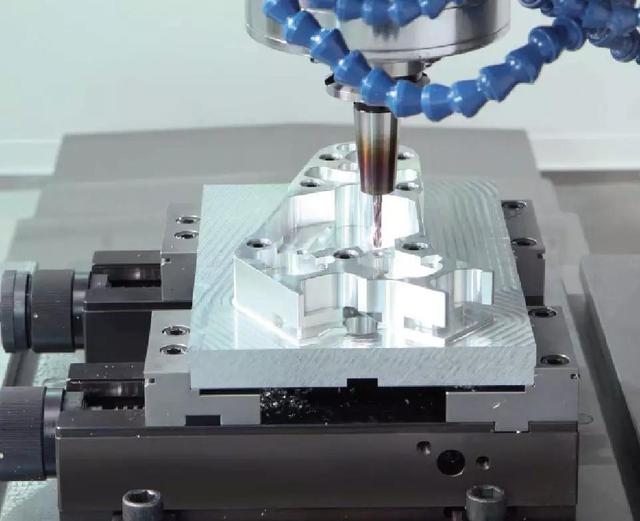
For example, for the IT7 level of accuracy of the hole using boring, reaming, grinding and other processing methods can achieve the accuracy requirements, but the hole on the box is generally used boring or reaming, and should not be used to grind. Reaming is generally chosen for small-sized box holes, while boring should be chosen when the hole diameter is larger. In addition, the requirements of productivity and economy should be considered, as well as the actual situation of the factory's production equipment and so on. The economic machining accuracy and surface roughness of the commonly used machining methods can be found in the relevant process manuals.
- Principles for determining machining solutions
The machining of more precise surfaces on the part is often achieved gradually through roughing, semi-finishing and finishing. For these surfaces only according to the quality requirements of the corresponding final processing method is not enough, should also be correctly determined from the rough to the final shape of the processing scheme. When determining the machining programme, the initial determination of the machining methods required to achieve these requirements should be based on the accuracy and surface roughness requirements of the main surfaces. For example, for holes with a small diameter of IT7 accuracy, when the final machining method is taken as fine reaming, the hole is usually drilled, reamed and rough reamed before finishing.
CNC machining common problems and how to solve them
- Workpiece overcut
Causes.
(1) Bouncing tool, tool strength is not long enough or too small, resulting in tool bouncing.
(2) Improper operation of the operator.
(3) cutting allowance is not uniform (e.g.: the side of the surface left 0.5, the bottom surface left 0.15)
(4) Improper cutting parameters (e.g. tolerances too large, SF set too fast, etc.)
Improvement.
(1) The principle of using tools: can be large, not small, can be short, not long.
(2) add a corner clearing program, the margin as far as possible to leave uniform, (side and bottom surface margin left the same).
(3) Reasonable adjustment of cutting parameters, the margin of large corners rounding.
(4) the use of machine tool SF function, the operator fine-tune the speed of the machine tool cutting to achieve the best results.
- Problems in the distribution
Cause.
(1) Inaccurate manual operation by the operator.
(2) Burrs around the mould.
(3) The centreing bar is magnetic.
(4) Four sides of the mould are not perpendicular.
Improvement.
(1) Manual operation should be repeatedly double-checked and the parting centre should be at the same height at the same point as far as possible.
(2) Use an oil stone or file to deburr the perimeter of the mould then wipe it clean with a rag and finally confirm by hand.
(3) Demagnetise the centreing bar before dividing the mould (use a ceramic centreing bar or other).
(4) Calibration table to check whether the four sides of the mould are vertical (verticality error is large need to review the program with the pliers).
- Tool setting problems
Causes.
(1) Inaccurate manual operation by the operator.
(2) The tool is incorrectly clamped.
(3) There is a mistake in the blade on the flying knife (the flying knife itself has a certain error).
(4) There is an error between the R-knife and the flat bottom knife and the flying knife.
Improvements.
(1) Manual operation should be repeatedly double-checked and the pair of knives should be at the same point as far as possible.
(2) Tool clamping with air gun blow clean or rag wipe clean.
(3) Flying knife on the blade to measure the tool bar, light bottom surface when available a blade.
(4) A separate knife pairing procedure can avoid the error between the R-knife flat knife and the flying knife.
- Crash programming
Causes.
(1) Insufficient or no safety height set (tool or collet hitting the workpiece during fast feed G00).
(2) The tool on the program sheet and the actual program tool are written wrong.
(3) Wrong tool length (edge length) on the program sheet and the actual depth of machining.
(4) Wrong number of Z-axis depths on the program sheet and the actual Z-axis.
(5) Incorrect setting of coordinates during programming.
Improvements.
(1) Accurately measure the height of the workpiece to ensure that the safe height is above the workpiece.
(2) Match the tool on the program sheet with the actual programmed tool (use automatic program sheets or program sheets with pictures if possible).
(3) Measure the actual depth of machining on the workpiece and write down the length and edge length of the tool on the program sheet (generally the tool clamping length is 2-3 MM above the workpiece and the edge length is 0.5-1.0 MM to avoid empty space).
(4) Take the actual Z-axis on the workpiece and write it down clearly on the program sheet. (This operation is generally a manual operation to write a good to double check).
- Surface accuracy
Causes.
(1) Cutting parameters are unreasonable and the surface of the workpiece surface is rough-.
(2) The cutting edge of the tool is not sharp.
(3) Tool clamping is too long, the edge of the tool is too long to avoid empty.
(4) chip removal, blowing, bad oil flushing.
(5) Programming the way to go, (you can try to consider going smooth milling).
(6) The workpiece has burrs.
Improve.
(1) cutting parameters, tolerances, allowances, speed feed settings to be reasonable.
(2) The operator is required to check the tool from time to time and replace it from time to time.
(3) The operator is required to clamp the tool as short as possible, and the cutting edge should not be too long to avoid hollow.
(4) For undercutting of flat, R and round nose cutters, the speed feed setting should be reasonable.
(5) The workpiece has burrs that are directly related to our machine tools, cutting tools and the way we go about it. So we need to understand the performance of the machine tool and make up for the burrs on the edge.

